These pages chronicle the construction of my ride-on scale layout. When completed, it will feature a main loop around my house and one passing track. The main loop will be dual-gauged at four and three quarter inch and three and one half inch. The siding will be four and three quarter only. The layout and its suroundings are meant to be one eighth scale (also called one and a half inch scale) but any engine and rolling stock that can physicaly fit on the track is welcomed to run. The main track is close to three foot gauge with the third rail providing something close to two foot gauge. The main reason for using dual gauge is that my friend Eric owns an OS Krauss that runs on three and a half inch gauge.
The work started in October of 2003 when I did the basic surveying. This showed me that the railroad could be built with the following limitations:
With these limits in mind, I measured and calculated the amount of track required (which turned out to be a little less than one hundred and fifty feet) and placed an order with Riding Rail Kits. Also included in that order was a basic four wheel locomotive chassis.
The first major project involved removing a lot of bamboos that completly blocked the rear of the house. This alone took several weekends of work. I realize that the bamboo issue will be ongoing as I could not remove everything since it comes from my neighbour's yard. I also happen to like bamboo, so I'll let it grow in places where it does not interfere with the railroad.
The second project was to remove a medium size stump that was directly in the path of the track. This took a lot of digging and root cutting.
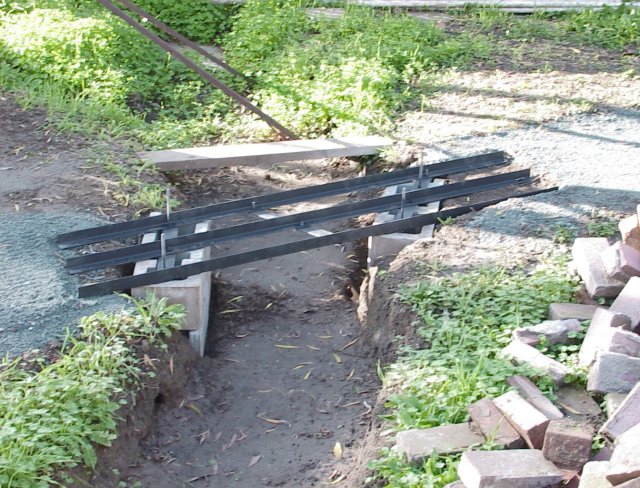
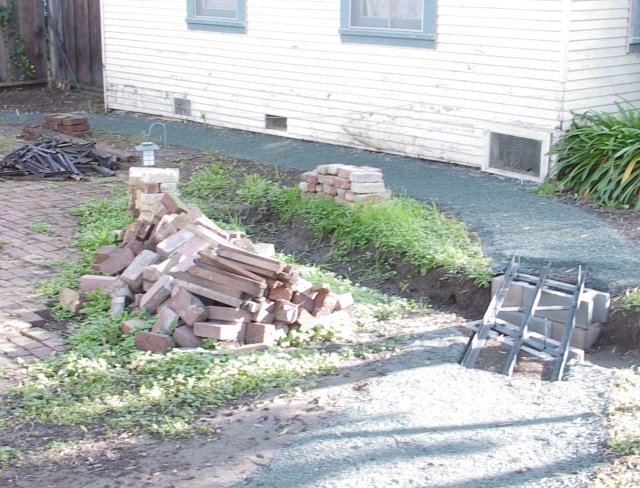
One problem with my yard is that it is located at the bottom of a hill and during heavy rains (Somewhat a rare event around here) a stream of water crosses my side yard. If left to its own devices, the water flows torwards my next door's neighbour's house. In order to capture this excess water and also to add some interest to the layout, I decided to create a "river" to be crossed by a railroad bridge. The following picture shows the bridge under construction:
At that point only the concrete abutments and steel structure were built. The four "sticks" that proture from the abutments are threaded rods that connect the steel structure on top of the concrete to a pair of steel plates located under the abutments. The threaded rods have now been cut and some presure treated lumber installed over and next to the steel structure so the bridge apears to be made entirely of wood while offering plenty of strength.
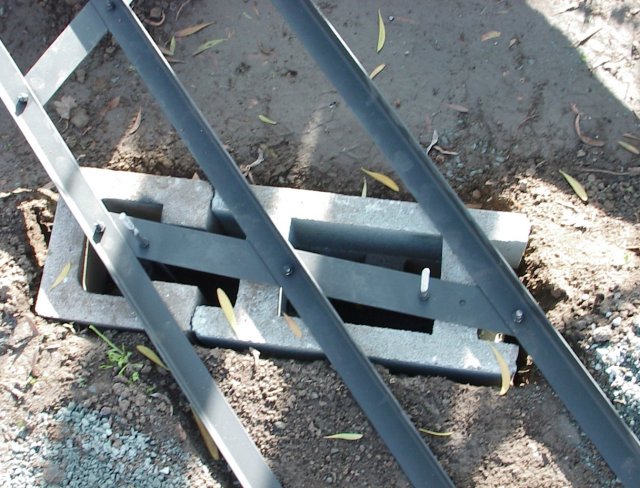
Here is a closeup of of one of the bridge's end:
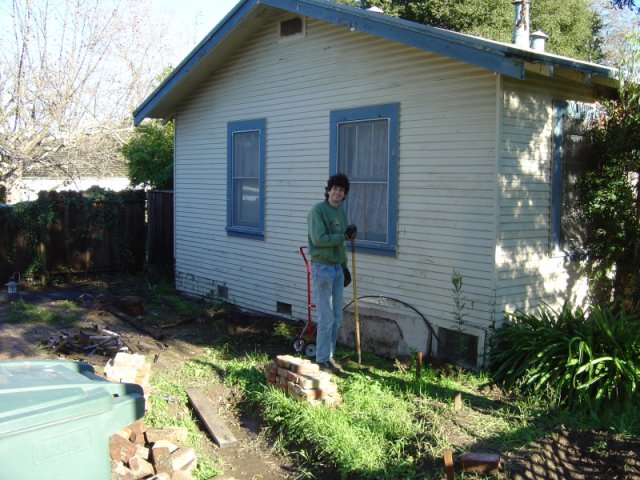
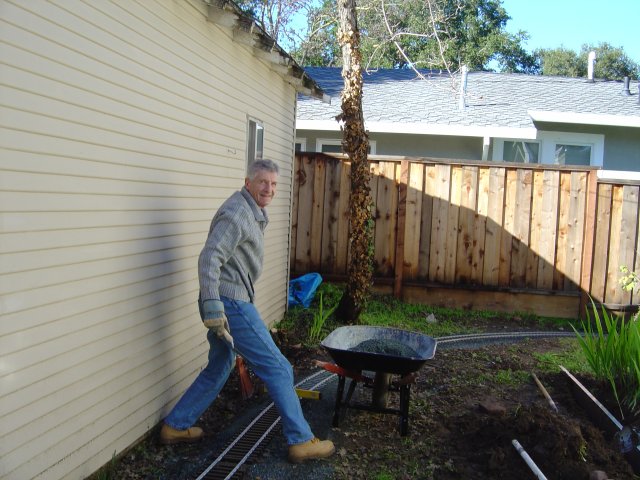
The yard was not very well maintained by the house's previous resident. The following picture shows me clearing the right of way along my neighbour's house:
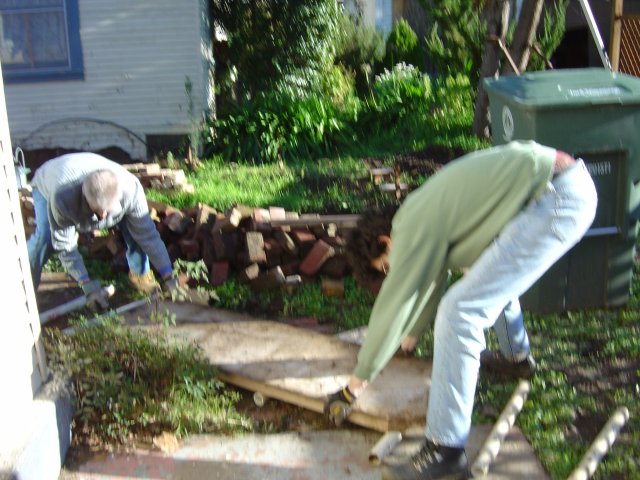
One thing that needed to be removed was a heavy slab of rock which had been stored against the house for many years. The following picture shows my father and I moving it on rollers made of PVC pipes.
My parents came to visit me during the 2003 holiday season. While my mother "supervised", my father and I did most of the grading and ballasting.
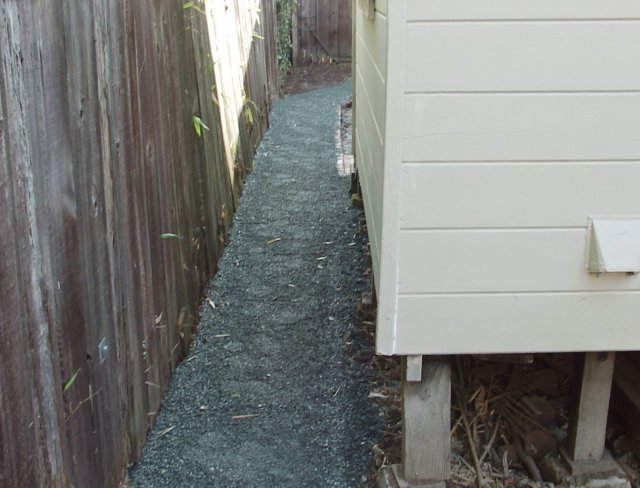
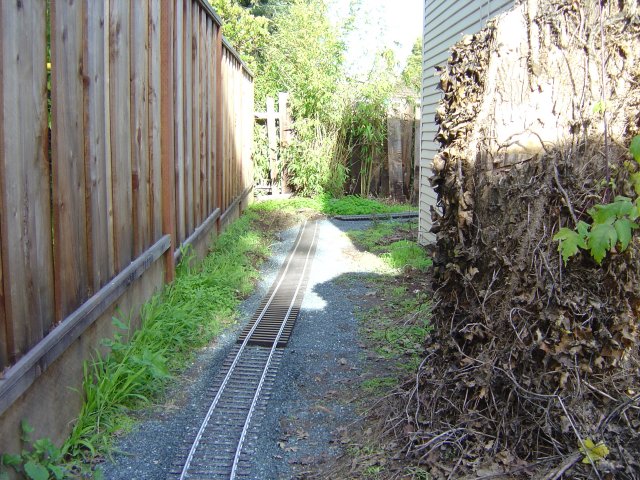
I ordered the ballast from Lyngso in Redwood City, CA. They delivered the two tons with a small dump truck: I highly recommend this method (as opposed to renting a truck or making many trips with your own vehicle)! I used a product called pathway blue fines. It compacts very well and has a nice blue-grey color. Here is a view of the back of the house (side to side clearance is only thirty seven inches) with the basic coat of ballast installed:
Following the track clockwise from the previous picture, here is a view of the South East corner of the layout:
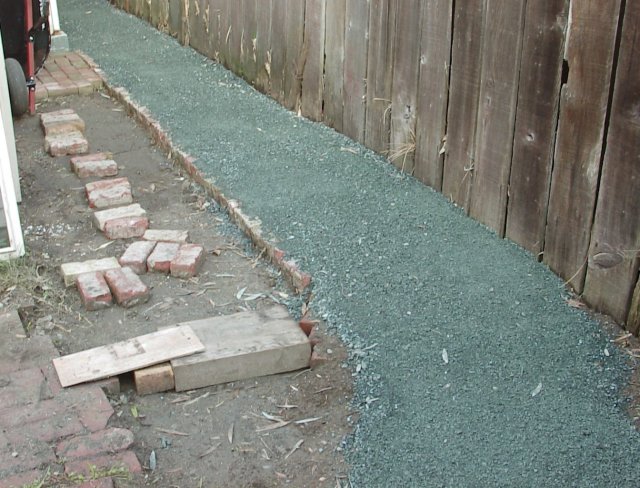
A brick path will follow the track and connect the side yard with the back door. The next picture shows the same area pictured earlier after it has received its first coat of ballast:
My father can be seen levelling the track and adding the final coat of ballast on the North West corner of the layout. The curve has a twelve foot radius.
Here is a view of the end of the fully ballasted track:
Once the rest of the track is assembled, I will order another two tons of ballast to finish the installation.
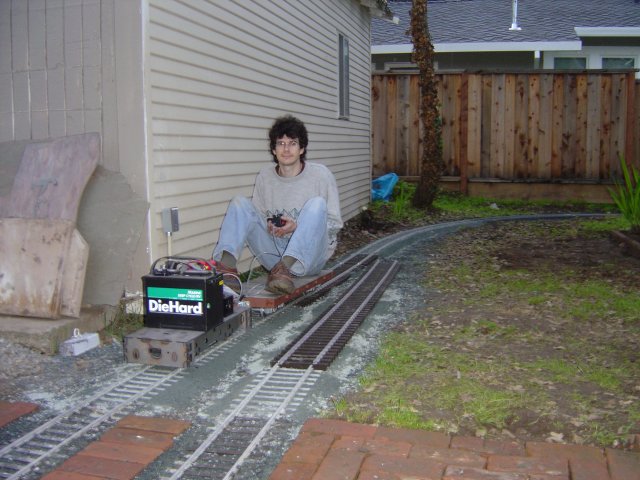
Even though the track is short, it can be ridden! Here is a view of me riding behind my electric chassis (note the temporary battery):
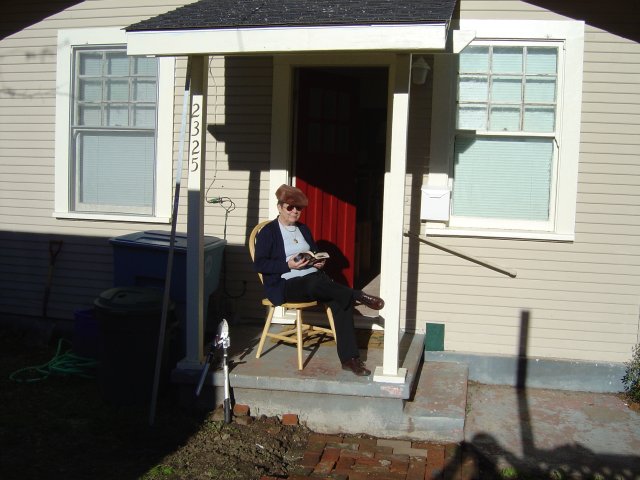
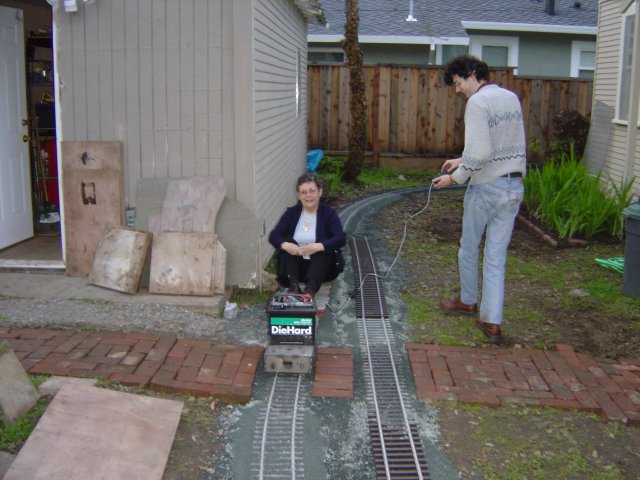
Here, my mother enjoys a brief ride:
Click here to go to the next page...