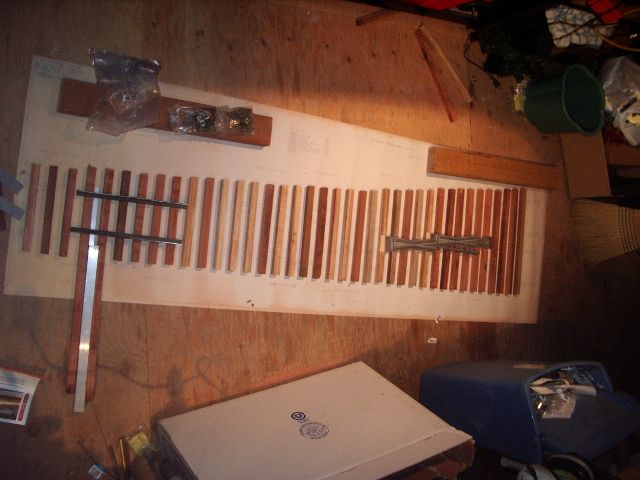
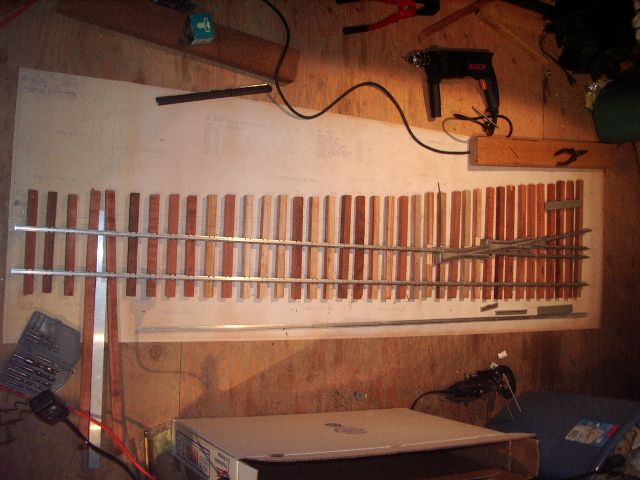

| Overal view of the switch sitting on top of the full size drawing provided by Riding Rail Kits. The ties (made of 3/4 inch by 3/4 inch redwood) are cut and notched |
| Here are the two frogs and the third rail needed for the 3.5 inch gauge track. |
| IMGP1242.JPG |
| IMGP1244.JPG |
| IMGP1245.JPG |
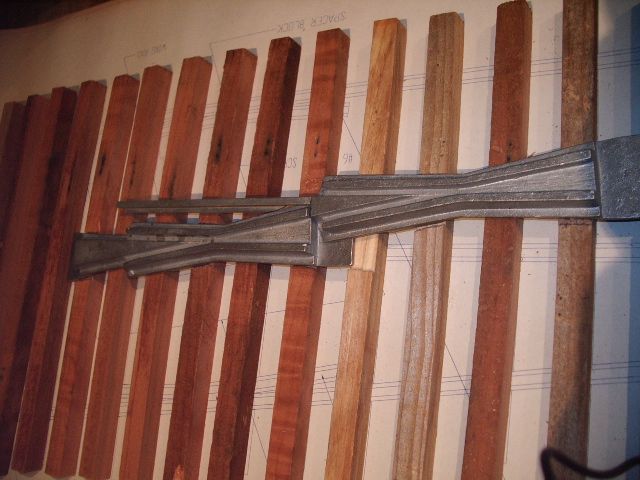
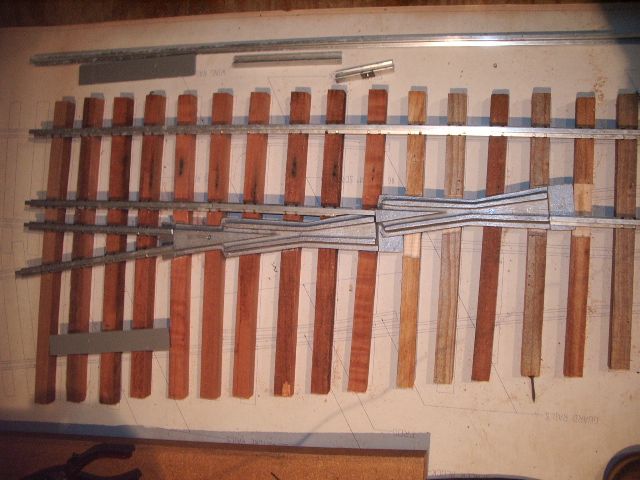
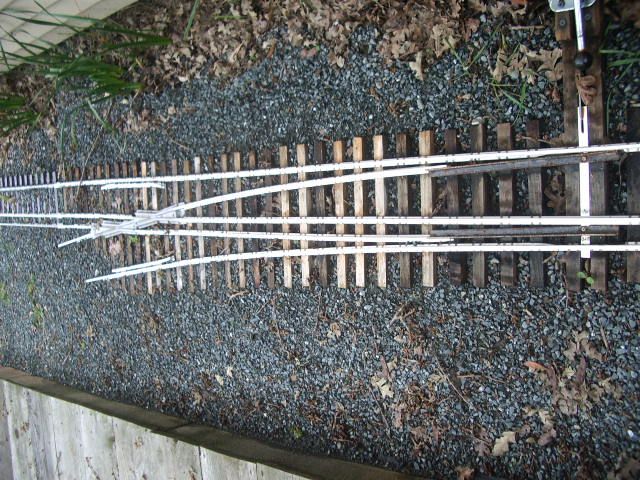
| At this point, The 3.5 inch gauge track is done. |
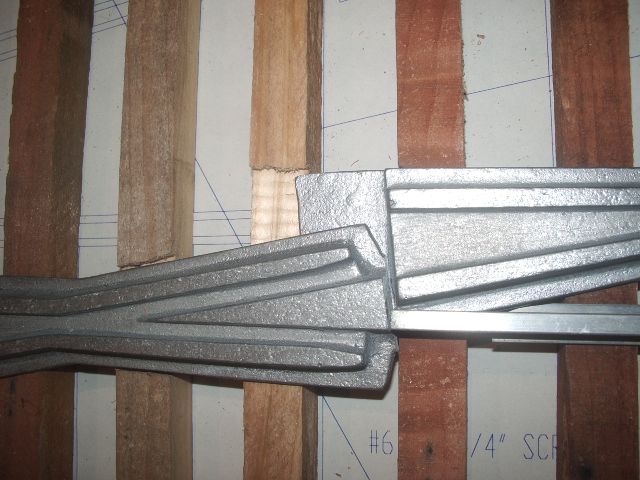
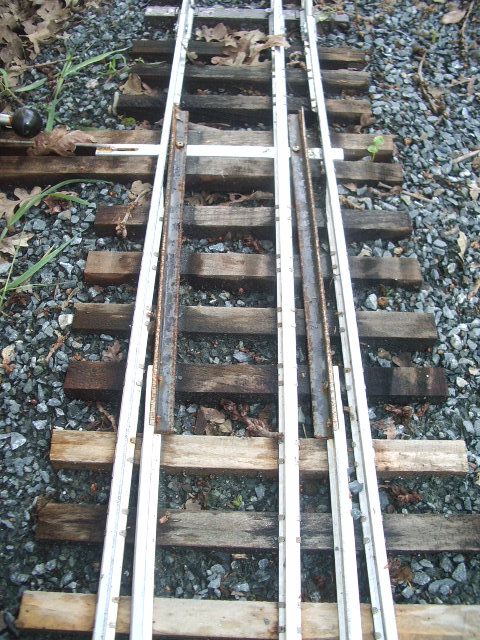
| This view shows how the 3.5 inch gauge rail goes through the diverging 4.75 inch gauge rail using an extra frog. |
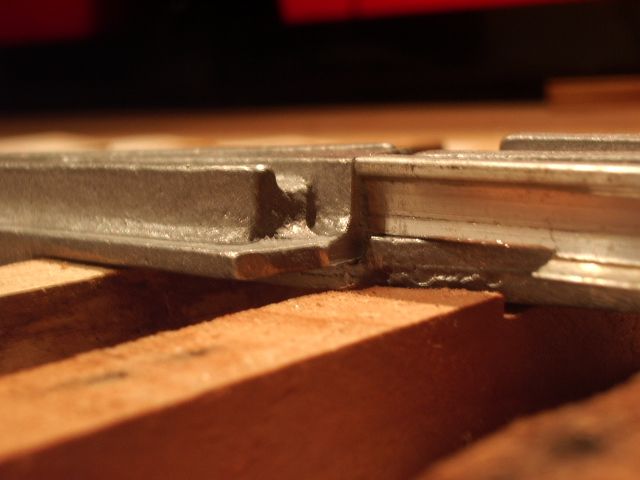
| This fixture is used for drilling the holes at the end of each rail so it is ready to receive the screws that hold the rail joiners. The fixture is made of two rail joiners, a short section of rail and a thin piece of plastic to keep the rail joiners slightly spread to facilitate sliding the fixture on and off the rails. |
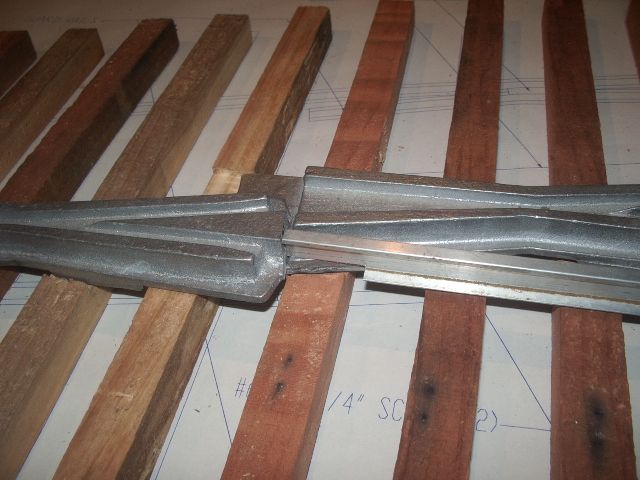
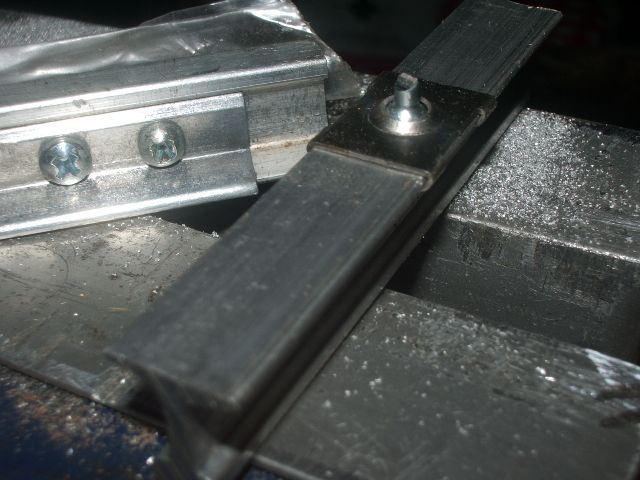
| This fixture is used to mark the location on the ties where a rail clamp will be attached. It is made of a short length of rail, a clamp with a cut screw installed. When the fixture is pressed into the rail, the end of the screw creates an indentation where the tie needs to be drilled in preparation for intalling the clip. |
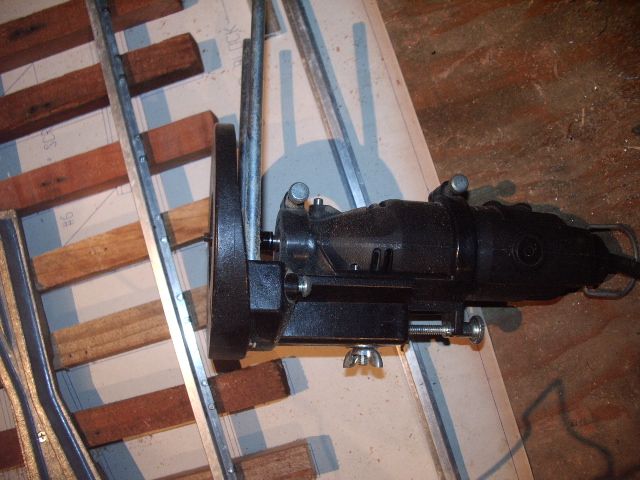
| Some areas of the ties have to be notched down to accomodate the frogs. A high speed rotary tool with a router bit and base makes a quick and easy job out of this task. |
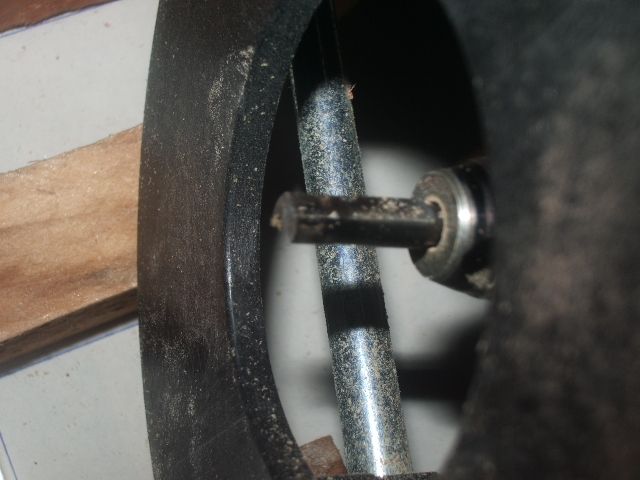
| Here is a close up view of the miniature router bit used for notching the ties. |
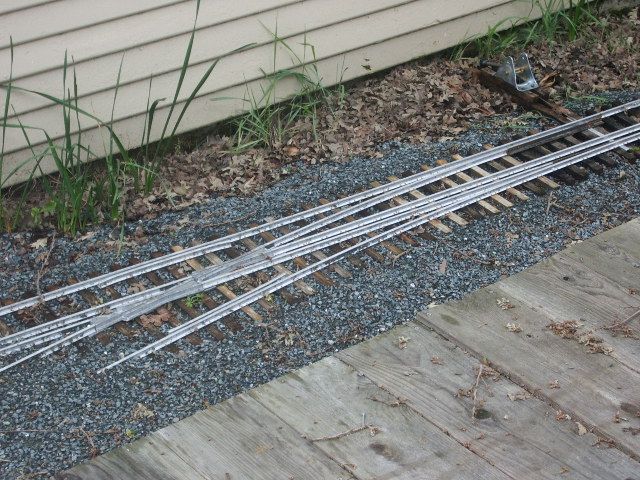
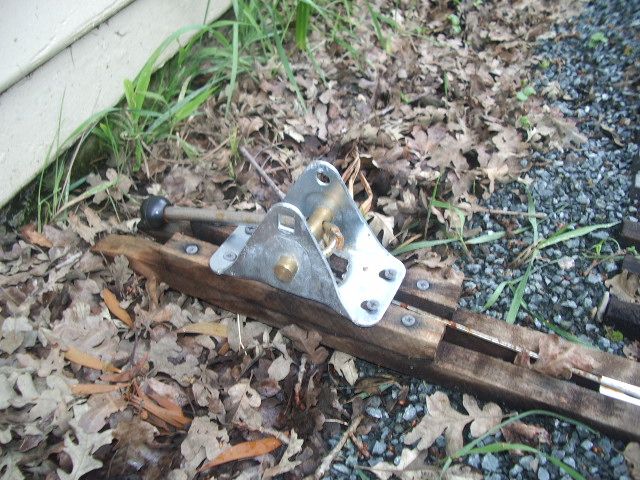
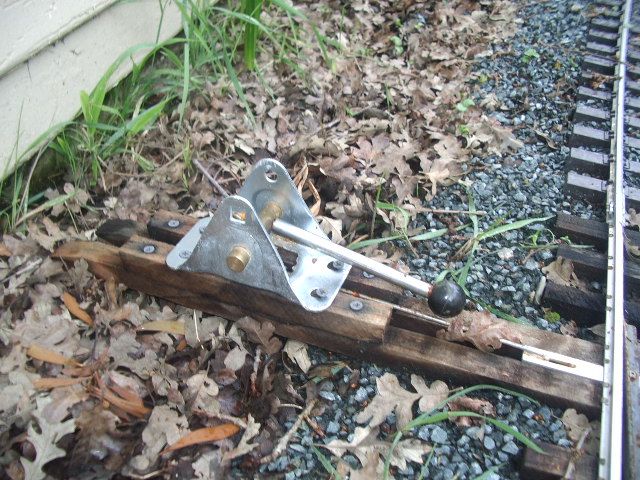
| The switch is in place! This winter has been one of the rainnest on record, so I've had very few opportunities to work outdoors. The switch is connected to the main line but the siding still awaits... |
| IMGP1266.JPG |
| The switch throw lever set for the main line. |
| IMGP1268.JPG |
| IMGP1269.JPG |